DIY Glass Coasters: Easy and Creative Craft Project!
Hello, fellow craft enthusiasts! Today, I am excited to share with you a fun and creative DIY project that I stumbled upon during a sleepless night. I didn’t plan to post tonight, but as I found myself stuck in a small bed, waiting for an overexcited kid to fall asleep, I decided to make the most of my time and share this wonderful craft idea with all of you!

Crafting with clay
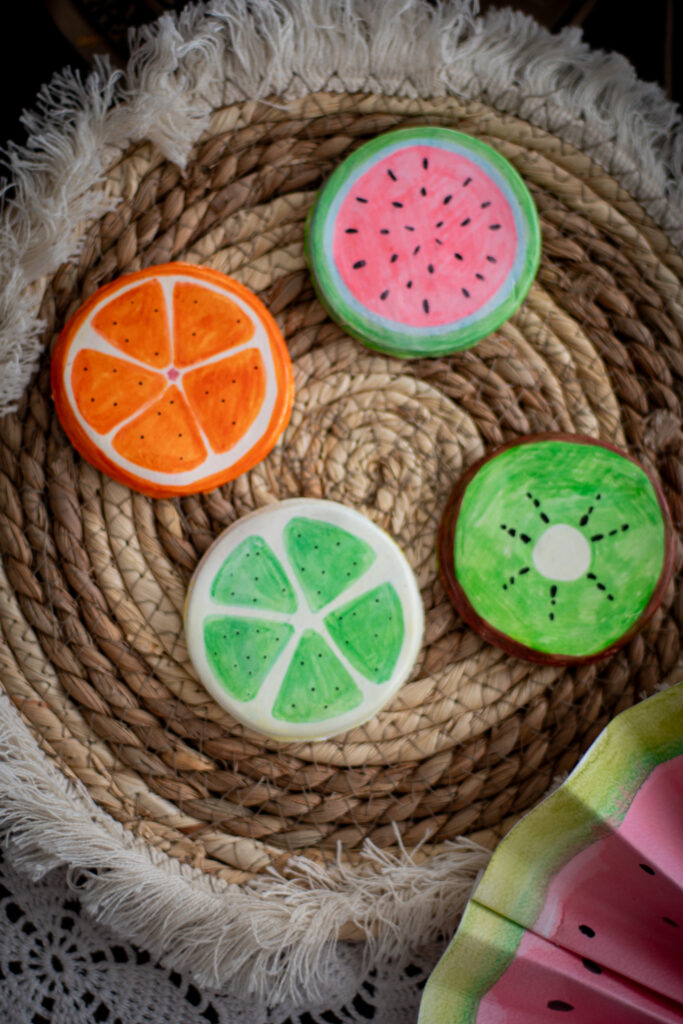
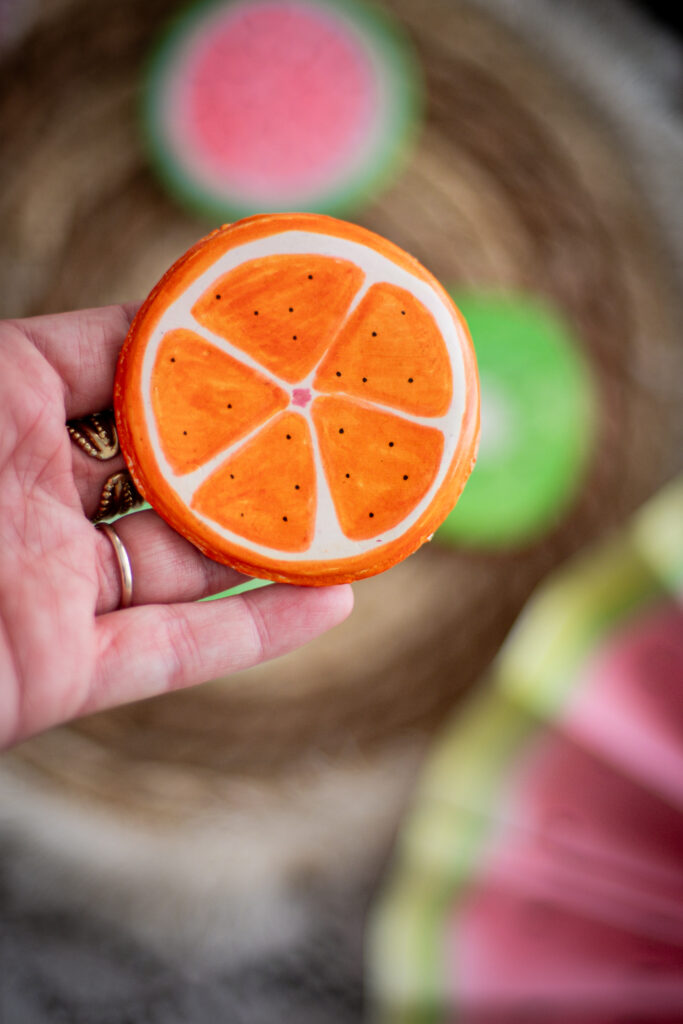
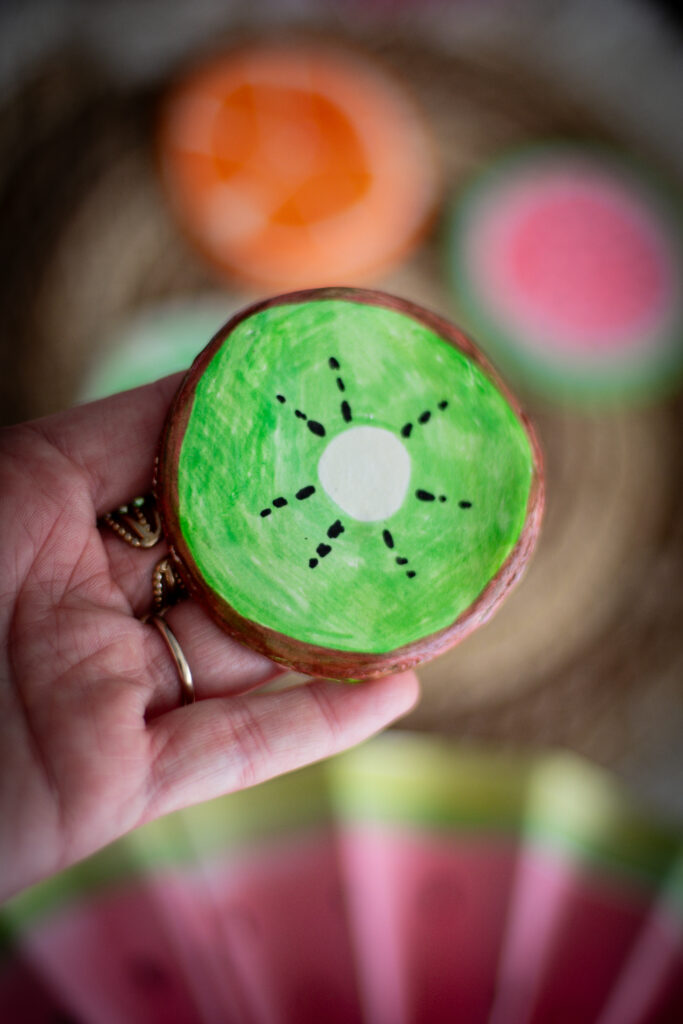
Last month, I had the pleasure of modeling these stunning glass coasters with the help of a simple yet versatile material – white air-dry clay. Using an ordinary glass as a mold, I created these beautiful coasters that turned out to be both functional and aesthetically pleasing.
Step-by-step guide
1. Gather Your Materials: All you need for this project is white air-dry clay and some clean glasses or cups that you can use as molds.
2. Mold the Coasters: Take a portion of the air-dry clay and flatten it to the desired thickness. Gently press the glass onto the clay to create the coaster shape. Make sure to smooth out any rough edges for a clean finish.
3. Get Creative: Once you’ve molded the coasters, it’s time to let your creativity shine! You can use various techniques to decorate the coasters – from simple patterns to intricate designs. Acrylic paints work wonderfully on air-dry clay, giving you a wide array of colors to choose from.
4. Varnishing: To protect your artwork and make the coasters more durable, apply a layer of varnish after the paint has dried. This step also gives the coasters a glossy finish, making them look even more professional.

The Temptation to Create More:
After completing my first set of coasters, I must confess I’m now seriously tempted to make more. The whole process was so enjoyable and rewarding that I can’t wait to experiment with different designs and color combinations.

Personal favorites
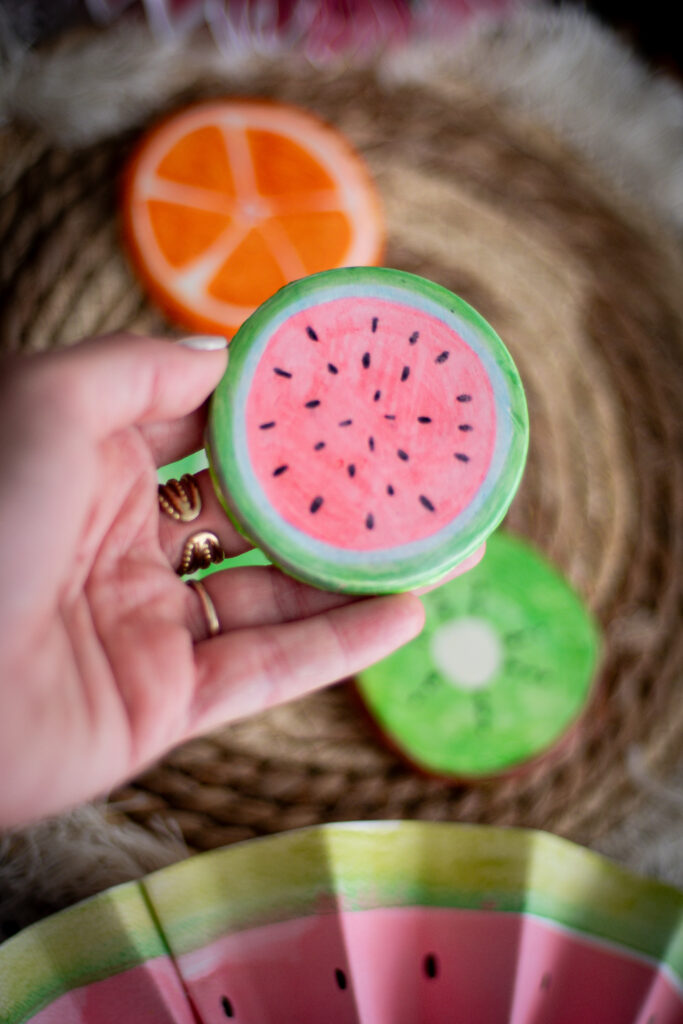
As for my personal favorite, I have to go with the charming watermelon design. Its vibrant colors and playful pattern never fail to put a smile on my face, making it a wonderful addition to any table setting.
In conclusion, this DIY craft project has proven to be a delightful and easy way to create functional and stylish glass coasters. With just a few simple materials, you can unlock your creativity and produce beautiful pieces of art that are also practical for everyday use.
So, why not give it a try? Whether you’re a seasoned crafter or just starting with DIY projects, making these glass coasters will surely spark joy and satisfaction. Happy crafting! ??
Note: Remember to keep an eye on your little ones while working with air-dry clay and avoid using any toxic substances in your crafting materials to ensure safety.
Feel free to subscribe to receive the free guide: “Unique and Sugar-free cakes” and more free printables monthly .
Follow for more on my Instagram https://instagram.com/scraps.and.coffee.grounds?utm_medium=copy_link
Check my YouTube channel if you prefer: https://youtube.com/@scraps.and.coffee.grounds
And you can support my work https://ko-fi.com/scrapsandcoffeegrounds


