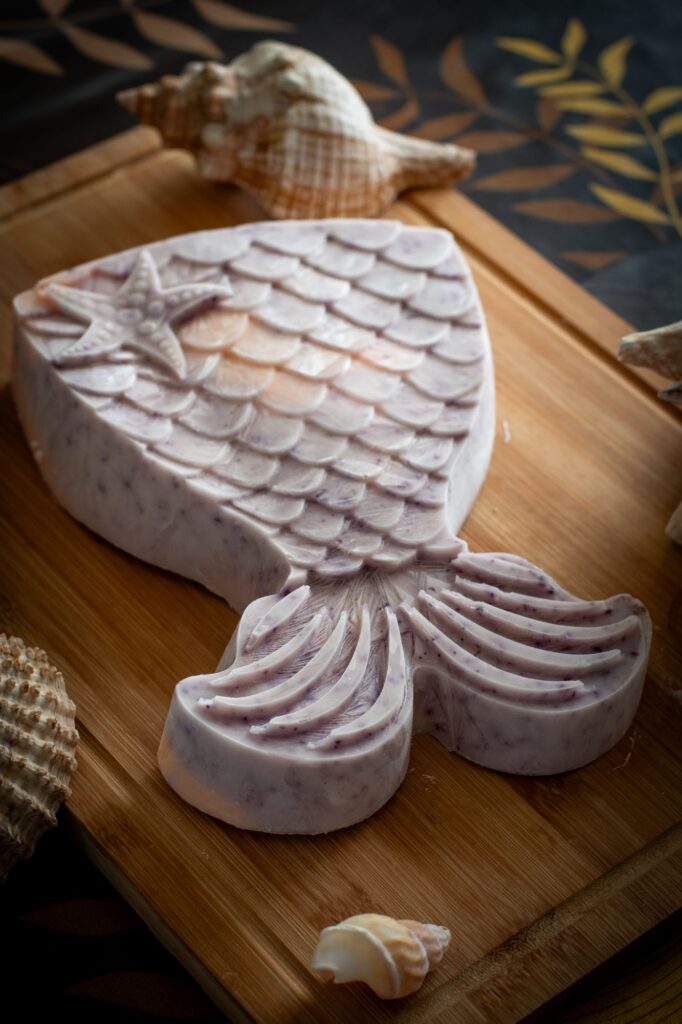
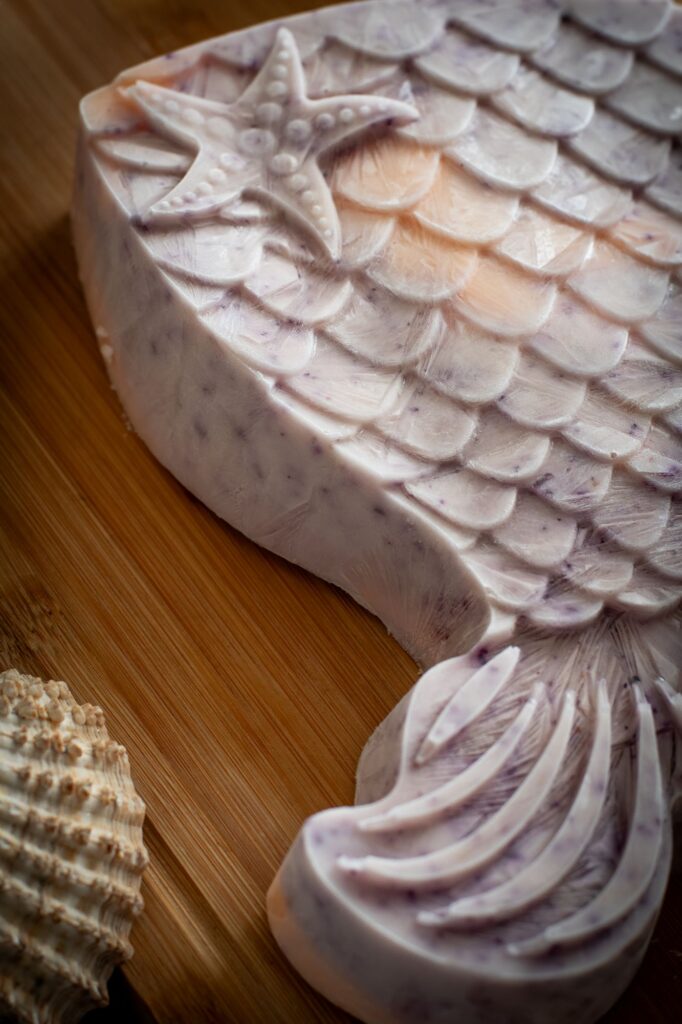
How to Repurpose a Cute Mermaid Mold: A Frozen Yogurt Win!
Have you ever stumbled upon a cute cake mold that you just couldn’t resist buying, only to find out that it was nearly impossible to unmold your creations? This happened to me with a charming mermaid mold that I initially bought for making cakes. After several failed attempts to unmold cakes perfectly, I finally discovered a much better use for it – making a giant frozen yogurt! Not only did this turn out to be a win, but it also gave that cute cake mold a new purpose.
In this blog post, I’ll share how you can repurpose your tricky cake molds to create a delicious and refreshing frozen yogurt treat – no ice cream machine required! Let’s dive into the recipe.

Easy Frozen Yogurt Recipe (No Machine Needed)
Ingredients:
– 4 cups of Greek yogurt
– 1 cup of honey or maple syrup
– 1 teaspoon of vanilla extract
– 2 cups of your favorite fruits (berries, mango, or peaches work well)
Instructions:
1. Prepare the Fruit:
If you’re using larger fruits like mango or peaches, chop them into small, bite-sized pieces. This will ensure even distribution throughout your frozen yogurt.
2. Mix Ingredients:
In a large mixing bowl, combine the Greek yogurt, honey (or maple syrup), and vanilla extract. Stir until everything is well incorporated and smooth.
3. Add the Fruit:
Gently fold in the chopped fruit pieces. This adds natural sweetness and a burst of flavor to every bite.
4. Freeze the Mixture:
Pour the yogurt mixture into your mermaid mold (or any other mold you have on hand). Use a spatula to smooth out the top for an even freeze.
5. Initial Freeze:
Place the mold in the freezer and let it set for about 1 hour.
6. Stir to Break Ice Crystals:
After 1 hour, take the mold out of the freezer and give the mixture a good stir to break up any ice crystals that may have formed. Return the mold to the freezer.
7. Repeat Freezing Process:
Repeat the stirring process every 30 minutes for about 2-3 hours. This helps to achieve a creamier texture without the need for an ice cream machine.
8. Final Freeze:
Once the mixture has firmed up, let it freeze completely for a few more hours or overnight.
9. Unmold and Enjoy:
When you’re ready to serve, let the mold sit at room temperature for a few minutes. This will make unmolding easier. Carefully remove the frozen yogurt from the mold and enjoy your homemade frozen treat!

Why This Recipe is a Winner
This frozen yogurt recipe is not only easy to make, but it also allows you to put that stubborn cake mold to good use. Plus, you get to enjoy a healthier, homemade frozen dessert that’s packed with flavor and freshness. Whether you’re making this for yourself or serving it at a gathering, this giant frozen yogurt is sure to impress.
So, next time you find yourself frustrated with a tricky mold, remember – it might just be perfect for something other than cakes! Give this frozen yogurt recipe a try and let me know how it turns out. Do you have any creative uses for your kitchen gadgets? Share your tips and tricks in the comments below!
Happy freezing!


